This guide explains how to install FileMaker 19+. It is intended for general users.
Overview
aACE is built using Claris FileMaker Pro. This allows developers to leverage the FileMaker (FM) platform to customize aACE as necessary, providing a perfect fit at a lower cost and higher quality than expensive alternatives. To use aACE, you must first install FileMaker.
To install FileMaker 19+, you must:
- Have at least the minimum FM19 certified operating system installed on your computer
- Have administrator privileges on your computer
Note: You may also need to adjust preferences on your Mac to install apps that aren't from the Mac App Store. - Obtain these resources from your system administrator, noting the location on your computer where they get placed:
- A FileMaker installer (i.e. a .dmg file for Mac or an .exe file for PC)
- A license certificate (i.e. an .fmcert file) — For the easiest installation, place the license certificate in your computer's default Downloads folder. This enables FileMaker to automatically populate your license key.
- For PC — The correct destination folder where the app should be installed
The steps for installing FileMaker 19+ on a Mac computer are explained first, then the steps for installing on a Windows computer.
Mac Installation Process
During the installation process, it can be helpful to minimize other applications so each step of the process is clearly visible.
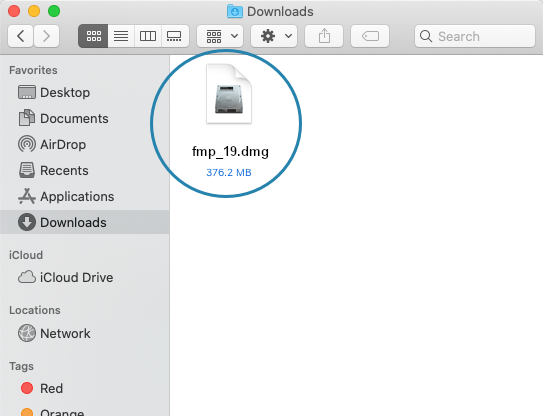
- Locate and double-click your FileMaker Installer (.dmg file).
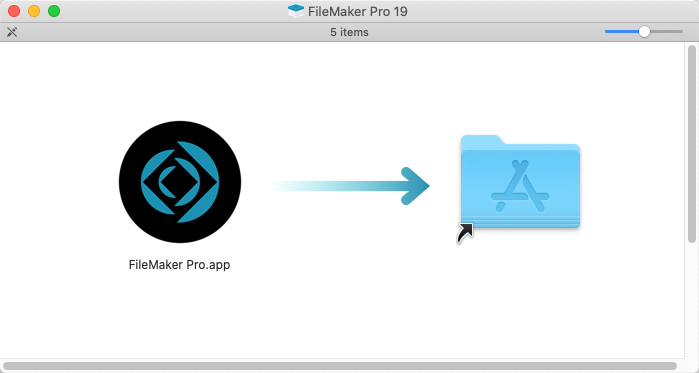
- When the installation package opens, click and drag the app to the Applications folder.
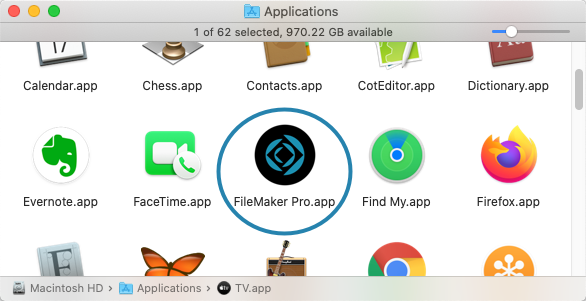
- After the application is copied, open your Applications folder and double-click the app.
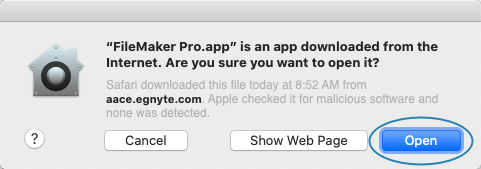
- If a dialog displays a warning about files downloaded from the Internet, click Open.
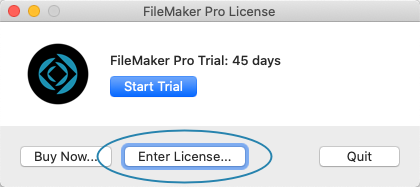
- If your license certificate is not in the default Downloads folder, at the FileMaker Pro License dialog, click Enter License.
- At the dialog to locate the license certificate file, click Browse.
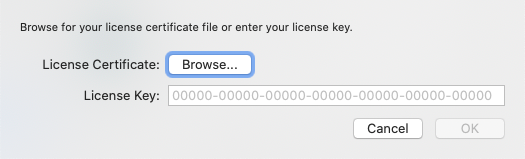
- Locate the license certificate (.fmcert) file and click Open.


The FileMaker launch window displays and you are ready to login to aACE. To streamline access, you can also obtain a launcher.
PC Installation Process
During the installation process, it can be helpful to minimize other applications so each step of the process is clearly visible.
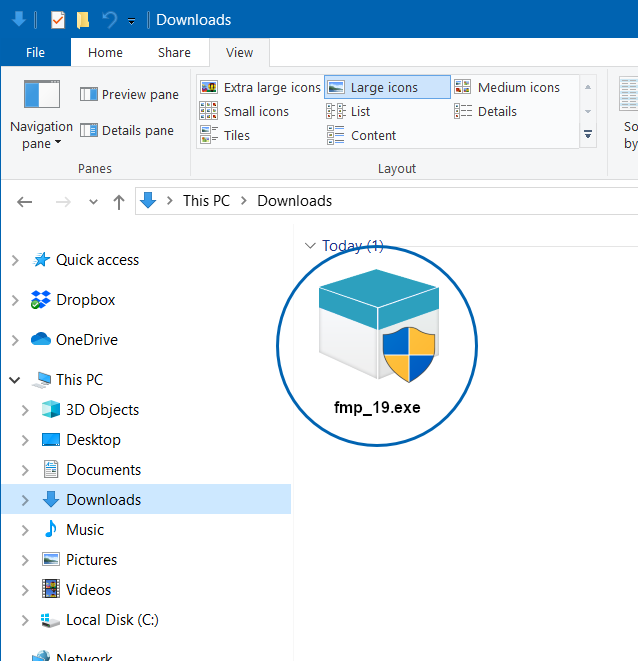
- Locate and double-click your FileMaker Installer (.exe file).
- If a warning displays about allowing the app to make changes to your device, click Yes.
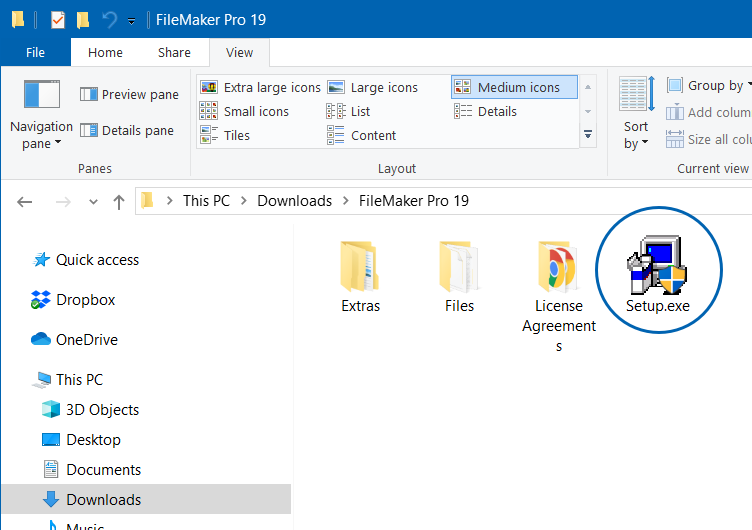
- After the extraction process runs, double-click the installation folder.

- Double-click the Setup.exe file.
- If a warning displays about allowing the app to make changes to your device, click Yes.
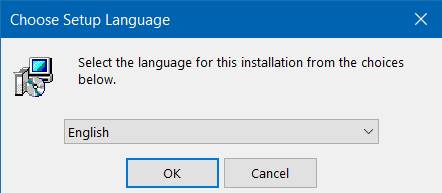
- For the Setup Language, select English and click OK.
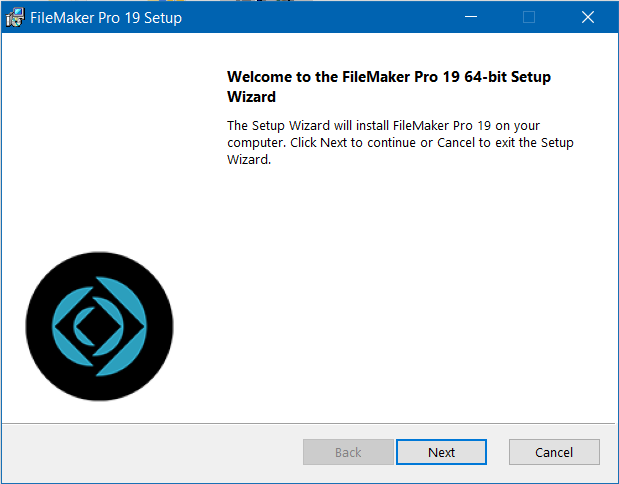
- At the setup dialogs, click Next.
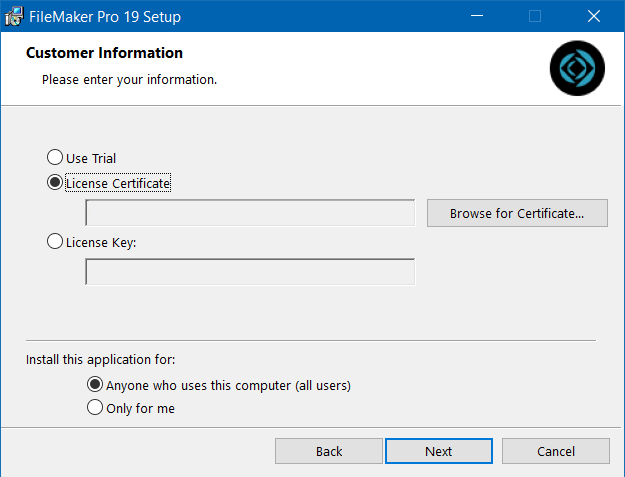
- At the Customer Information dialog:
- Verify that the License Certificate option is marked and the license key is displayed.
Note: If your license key was not placed in the default Downloads folder, you must click Browse for Certificate and manually locate it. - Verify that the 'Anyone who uses this computer' option is marked.
- Click Next.
- Verify that the License Certificate option is marked and the license key is displayed.
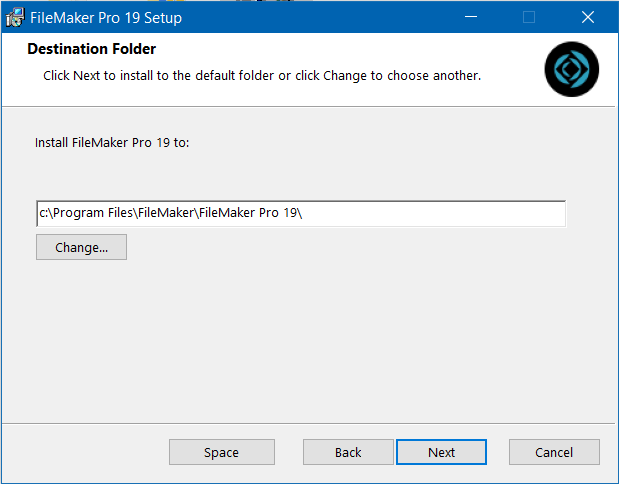
- Specify the destination folder as directed by your system admin, then click Next.
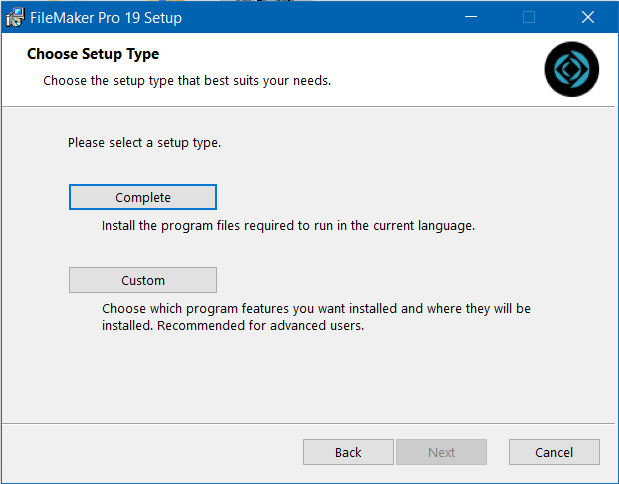
- Unless your system administrator has given other instructions, click Complete.
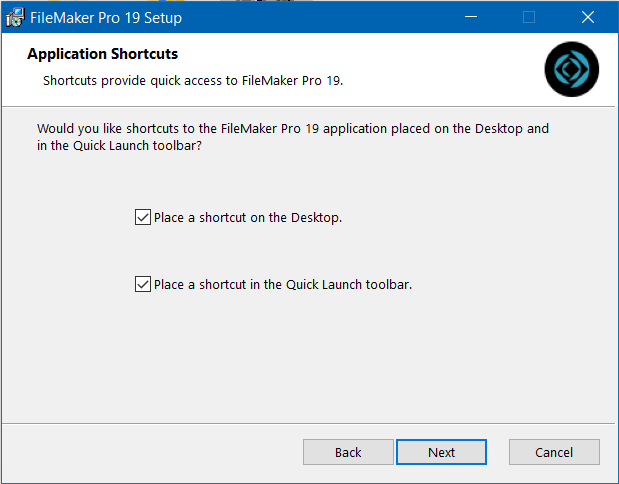
- Select the application shortcuts you prefer, then click Next.
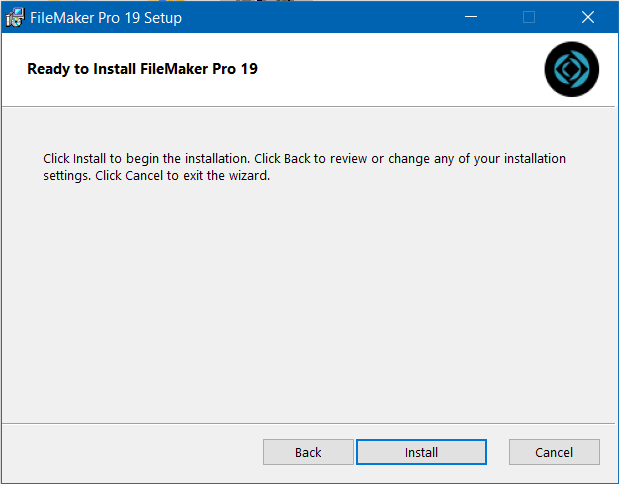
- Click Install.
- After the installation process has completed, click Finish.
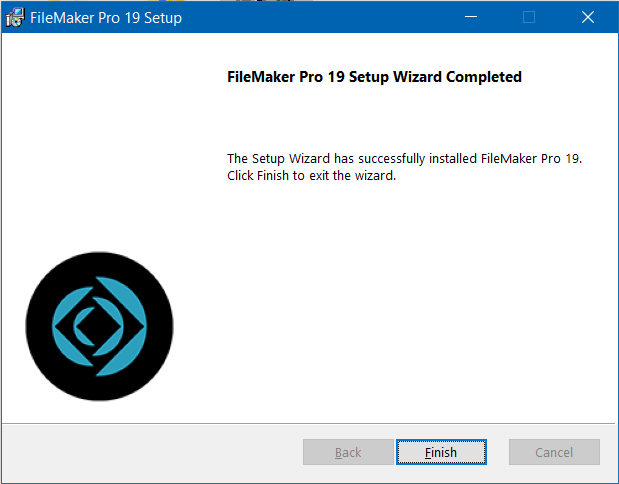


You are ready to login to aACE. To streamline access, you can also obtain a launcher.
