This guide explains how to print information in aACE. It is intended for beginning users.
aACE provides many standard reports and you can print this information from detail view screens. If your organization needs a custom reporting option, you can easily request support from within aACE.
General Printing Instructions
- Navigate from the Main Menu to the desired module.
- Use the Quick Search bar to locate the desired records.
- In the menu bar, click Print and select the desired report.
- In the Print Preview window, select to browse, save, or print the report.
Note: Some reports are configured to retrieve a certain set of records, so there is no need to locate specific records before printing (e.g. A/R Receivable Aging - All Records). Other reports may require you to provide additional details (e.g. entering a date range for an aging invoices report or specifying an "as-of" date).
Printing the Detail View
You can print the information about specific records, such as orders, invoices, POs, and tasks. The following screenshot uses an invoice as an example. At the detail view of the record, click Print > Print This View.

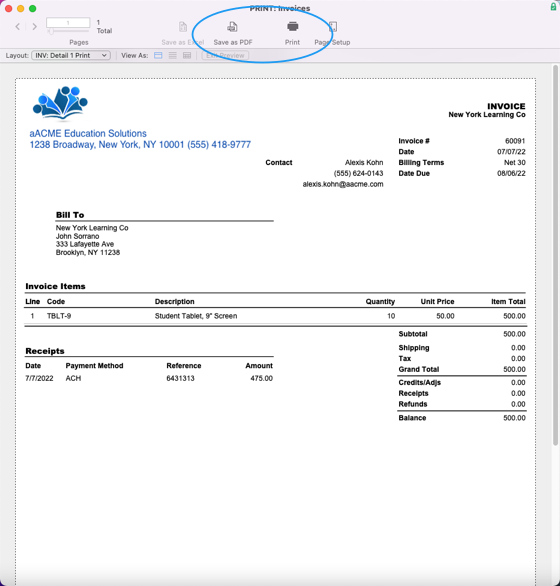
The report appears in preview mode, where you can specify the format:
- Save as PDF — Transfers data, layout, and formatting as shown on the preview
- Print — Displays a printing dialog box where you can specify the destination; transfers data, layout, and formatting as shown on the preview

Reports from the Print Menu
Most modules provide a list of reports from the menu bar Print option. This example shows the GL Accounts module:

This list can be customized with various reports, including new and personalized reports that your organization sends a request for.
The Report Selector
This option in the Print Menu drop-down list displays additional standard reports. The reports shown in the following screenshot are for the GL Account module; other modules will offer different report options.
- At the list view or detail view, click Print > Open Report Selector.

- Scroll to locate the desired report and click the report title.
- Enter any additional information needed in the popup dialog.
- Click Print.
The report preview may take a few moments to generate. - At the report preview, specify whether to send the report to the printer or save as a PDF (as noted above).

