This guide explains notices within aACE. It is intended for general users.
Notices are messages your aACE system delivers to your team members. Notices can be sent within aACE, through email, or through SMS text. They can streamline communications by recording conversations within aACE and their related records. Notices can include a link directly to the record(s) that are referenced.

Team members can send notices manually or aACE can send them automatically in response to a triggering event. For an example of how this feature can help your team, read our feature highlight.
There are three locations where team members can work with notices. Depending on your roles and your aACE system configuration, you might not be able to access all these screens:
- Notices module — Used by system administrators and accessed by navigating from the Main Menu > Internal > Notices.
- My Notices module — To view personal incomplete notices and accessed by the Notices icon (
 ) in the Main Menu
 - Notices Viewer — To view notices for a specific record and accessed by the Notices icon (
 ) in the record detail view
 ) in the Main Menu
 ) in the record detail view
Viewing Notices
There are many ways to view notices. To view notices for a specific record in the Notices Viewer, go to the record and select the Notices icon ( ). You can also view incomplete notices assigned to you in the My Notices module by selecting the Notices icon (
 ) in the Main Menu.
System administrators can view all notices for the aACE system by navigating from the Main Menu > System Admin > Notices.
Sending Notices
You can send notices through specific records in aACE. aACE will then provide the link to the record within the notice.
- At the detail view for your record, select the Notices icon (
 ).
).
This displays the Notices Viewer. - At the Notices Viewer, enter the message content for the new notice.
aACE automatically provides a Subject based on the title of the record.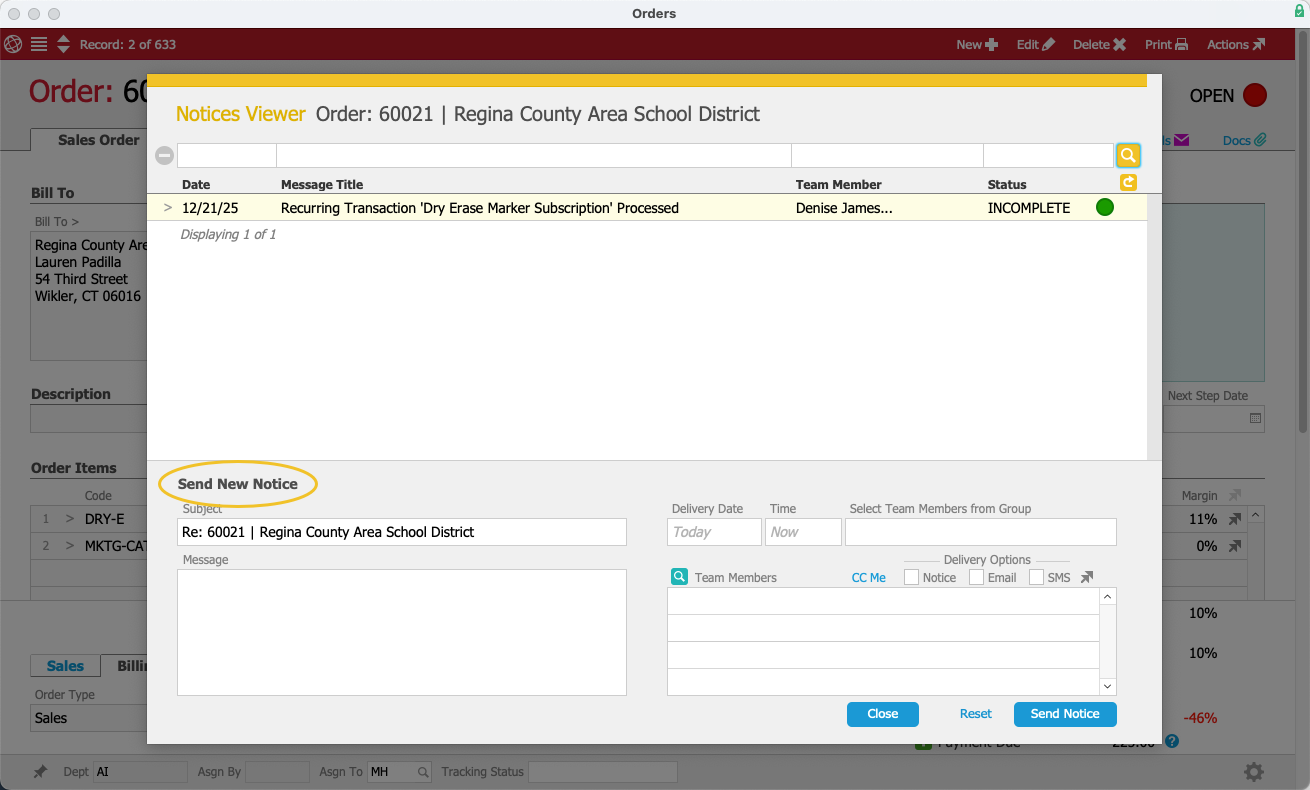
- Enter a date and time for the notice delivery and specify any team member recipients.
- Select the relevant delivery options (i.e. Notice, Email, or SMS).
SMS only works if the team member has an active SMS address linked to their team member record. - Select Send Notice.
 ).
). 
System administrators can also send notices from the Notices module. These notices do not have records link to them.
Completing Notices
When the notice activity or task is completed, you can complete a notice to remove it from your My Notices module. From the notice detail view, select Actions > Mark as Complete. If you accidentally complete a notice or new tasks are determined for the notice, you can select Actions > Revert to Incomplete.

To bulk complete notices, go to the My Notices List view and use the Quick Search bar or the Advanced Search options to locate all the notices you want to complete. Then, select Actions > Mark List as Complete.
