This guide explains how to create and edit departments. It is intended for advanced users.
The Departments module allows system administrators to work with existing department records (Main Menu > Internal > Details > Departments).
To create a new department, though, you must edit the relevant office record. This helps ensure that offices and departments are always connected. (Note: You can also use the aACE import tools to import departments.)
- Navigate from Main Menu > Internal > Offices.
- Locate the desired office and at the detail view, click Edit.
- In the Departments tab, scroll down to show the first empty row, then enter the new department title.
The remaining department fields become active.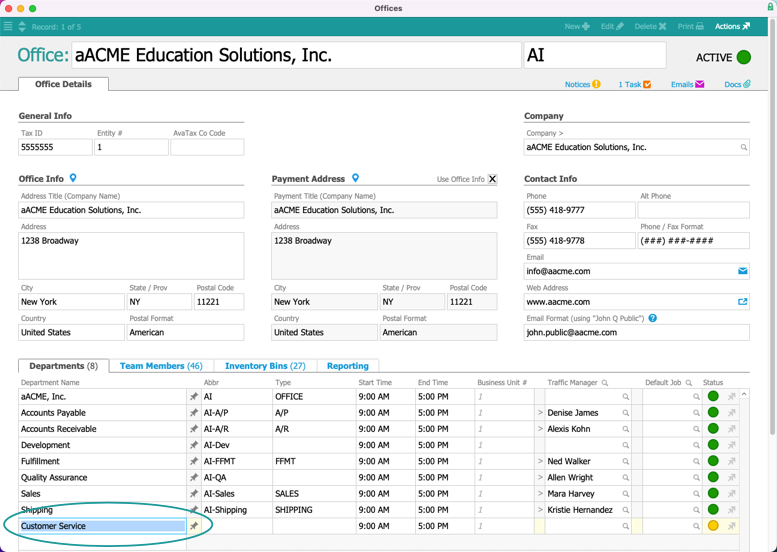
- Enter the remaining department information:
- Abbr — Enter a recognizable abbreviation (e.g. "NY-CS" could represent the New York office's Customer Service group).
- Type — Select the appropriate department type (see below for details).
- Start Time & End Time — Specify the department's hours of operation.
Note: These settings affect other system logic that calculates completion times for task and job assignments. - Business Unit # — Specify numbers here to group departments for financial reporting (e.g. Balance Sheet, Income Statement)
- Traffic Manager — Specify the person in charge of managing transactions for this department. New records for certain department types will be automatically assigned to this person (see below for details).
- Default Job — Specify the default job record. This will automatically be set as the assigned job for new records of the related Type.
Note: For details specific to your workflows, discuss this functionality with your system administrator or aACE Support Representative.
- Click Save (if the office has many departments, you may need to scroll down).

Department Types
The value list in the Type field has built-in logic for the default department types. It determines which designated traffic manager (TM) aACE will initially assign to various records. Users can manually over-ride the initial, automatic record assignment.
- Office — This department is automatically assigned to users who click the Main Menu link to switch offices. Only one department can be assigned this Type.
- Fulfillment — Assigned all job records
- Shipping — Assigned all shipping records
- Sales — Assigned all lead records
- A/R (Accounts Receivable) — Assigned all invoice records
- A/P (Accounts Payable) — Assigned all purchase order and purchase records
Note: System administrators can also add new department types by clicking the Type field, selecting Edit, and entering the new type.
