This guide explains how to assign task groups to assembly line item codes. It is intended for general users.
When you link an active task group to an assembly line item code (LIC), and that item is subsequently included on an order, the system will generate and schedule the tasks needed to complete the order.
You can link task groups using two methods:
Link a Task Group to an Assembly Line Item Code
After you set up an assembly LIC, you can link it to an existing task group:
- Navigate from Main Menu > Order Setup > Line Item Codes.
- Use the Quick Search bar to locate the desired LIC.
- At the detail view, click Edit.
- At the bottom of the Bill of Materials tab, click the Task Group field and select the desired task group.
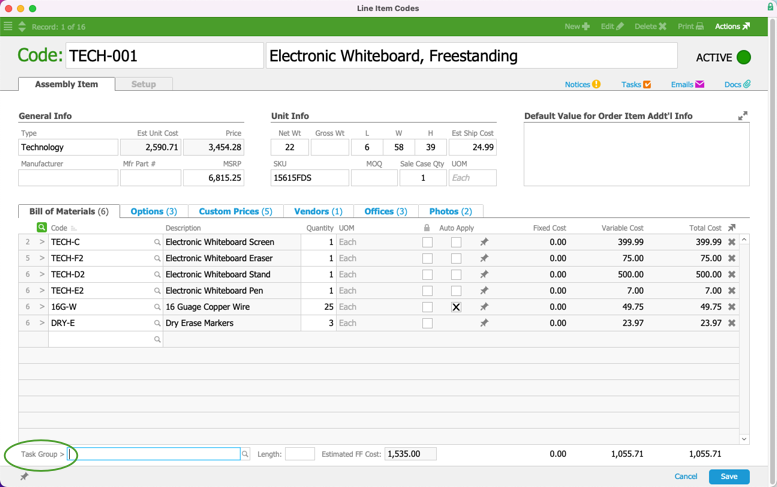
- Click Save.
The record updates with the estimated length of time and fulfillment cost from the task group.

Link a Task Group to Multiple LICs
When several assembly LICs have the same standardized fulfillment process, system administrators can link a task group to all of them at once:
- Navigate from Main Menu > Order Setup > Line Item Codes.
- Use the Quick Search bar to display the set of records that need to be linked to the task group.
Note: If any LICs in the list are not Assembly or Assembled Inventory Type, aACE will skip them and not link them to the task group. - At the list view, click Admin Actions (
 ) > Update Task Group for Line Item Codes in List.
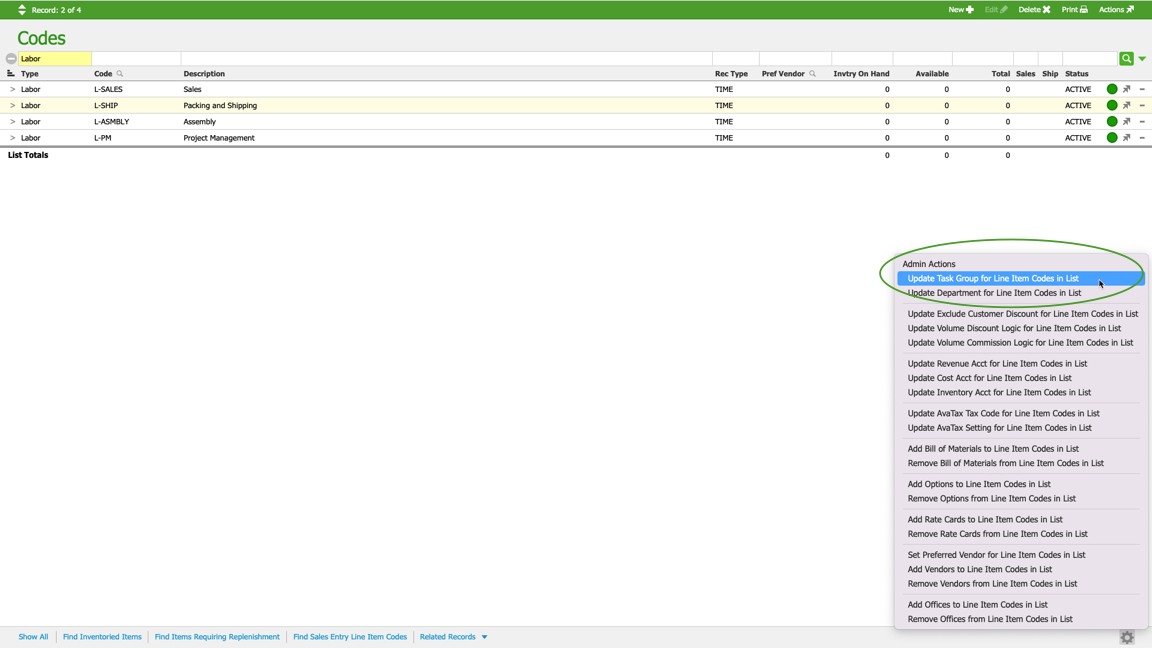
- At the confirmation dialog, click Select.
- At the Task Groups Selector, click on the desired task group.
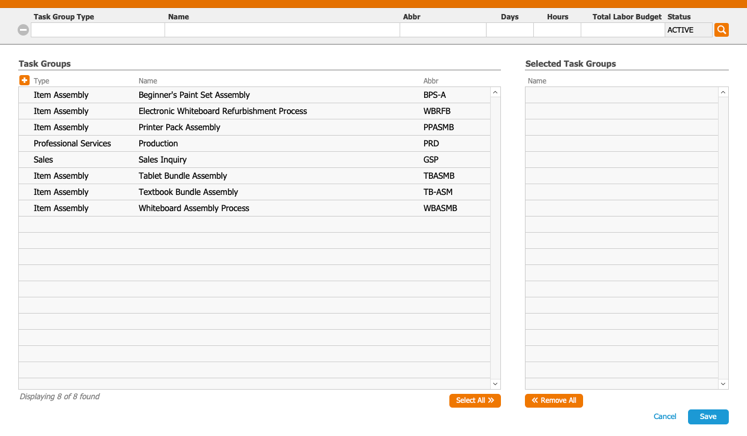
- Click Save.
- At the confirmation dialog, click OK.
 ) > Update Task Group for Line Item Codes in List.

