This guide discusses enabling automated receipt notification features. It is intended for system administrators.
aACE offers useful receipt notification features, including manually sending receipt notification emails, partially automating receipts, or fully automating receipt notifications. You can use aACE preferences to automate your receipt notification processes. It is important to understand these preferences and the list of criteria for the automation to be triggered.
Understanding the Automated Receipt Notification Process
By default, aACE's receipt notification process runs Mondays - Friday and will find all receipts that meet the following requirements:
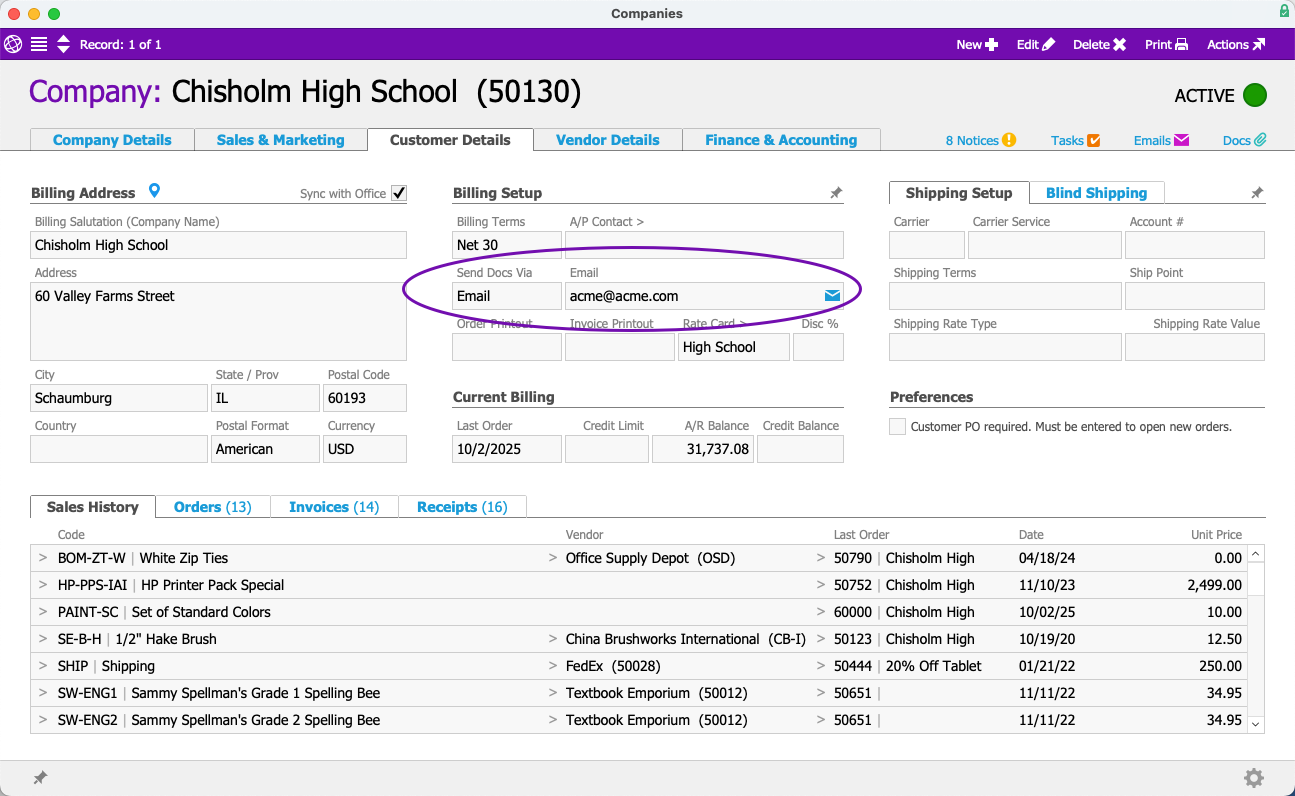
- The value of the A/P Send Docs Via field in the Customer Details tab of the related company record is not Mail.
- There is a valid email address to send the receipt notification to.
For more information on the receipt notification data source logic, refer to Understanding Data Sources for Email Templates. - The value of the receipt notification status in the Payment Info section of a receipt is PENDING.
- The record status of a receipt is POSTED.
aACE collects the receipts that meet the required criteria and emails the PDFs to their respective email addresses. aACE then updates the notification status for the sent receipts to SENT (Email).
Because the receipt notification process runs after business hours rather than at the time of posting, you don't need to worry about potential mistakes that could occur throughout the day. For example, if a team member posts a receipt with an error on it, there is time to intercept the notification before the process runs that night. You can configure the receipt notification process to better fit your workflows, if necessary.
Enabling aACE Automated Receipt Notifications
To enable automated receipt notifications, you will need perform several actions: confirm customer A/P email address and Send Docs Via preference, configure the receipt notification email template, clean up old receipts, configure notice setups, then activate the automation schedule.
Confirming Customer A/P Email Address and Send Docs Via Preference
For a customer to qualify for automated receipt notifications, their company record must have a valid email in the Customer Details tab > Email field, and the Send Docs Via field value must be Email.
Configuring the Receipt Notification Email Template
You must configure the receipt notification email template with a From email address (e.g. ar@yourdomain.com).
- From the Main Menu, go to System Admin > Email Integration > Email Templates.
- Locate the Receipt Notification email template.
- Enter a From email address in the From: field.


Preventing Notifications for Old Receipts
Once you have configured a From email address, you can prevent aACE from automatically sending receipt notifications for old receipts by manually updating the Notification Status to Void.
- From the Main Menu, go to Accts Receivable > Receipts.
- In the Quick Search links, select Find Pending Receipt Notifications.
- Select Edit > Set Notification Status to Void for List.


Configuring Internal Notices
You can configure the notice setup that will notify specific team members of receipt notification statuses:
- From the Main Menu, go to System Admin > Notice Setups > Receipt Notification Report.
- Select Edit.
- In the Setup Info section, specify the team who needs to receive these notices in the Team field.
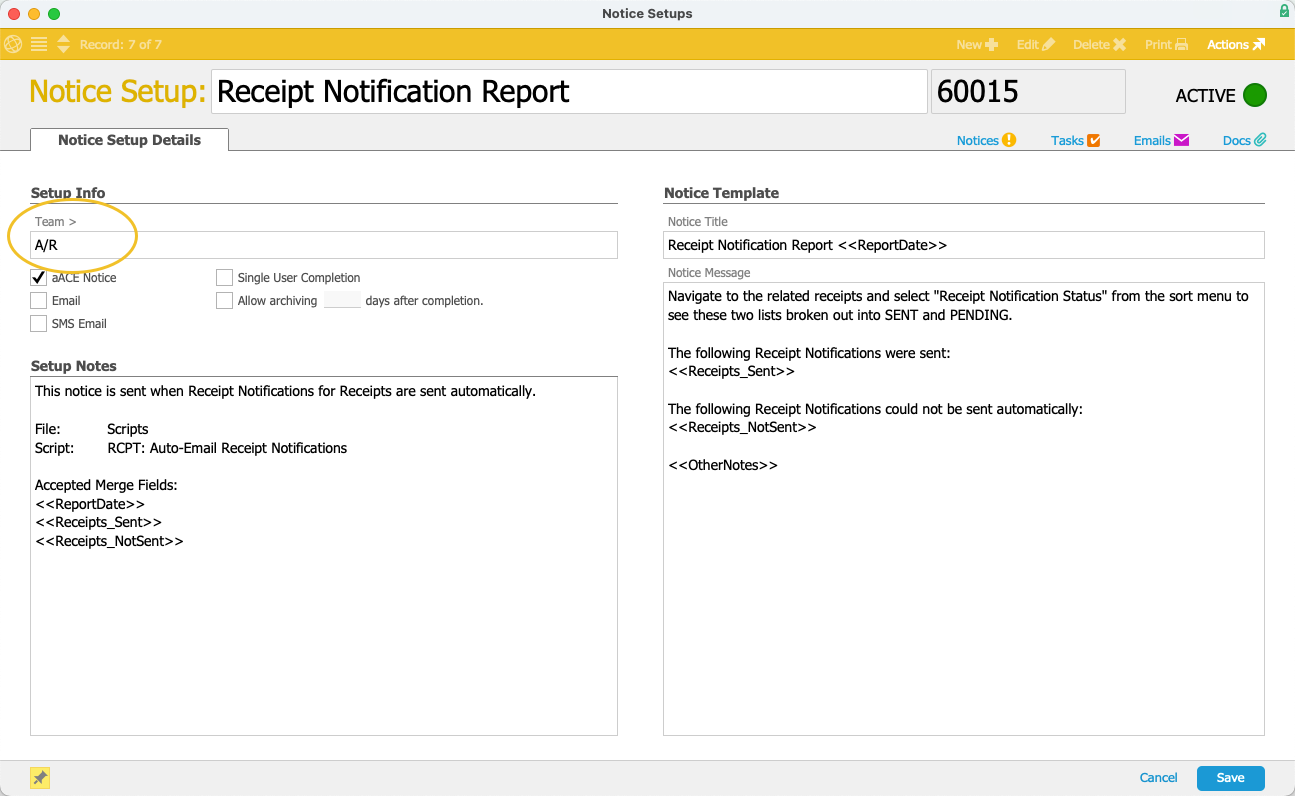
- Select Save.

Activating the Automation Schedule
To have aACE automatically send the receipt notifications, you must enable the Auto-Send Receipt Notifications automation schedule:
- From the Main Menu, go to System Admin > System Preferences > Automation Schedules.
- Locate the Auto-Send Receipt Notifications schedule.
- Select the Auto-Send Receipt Notifications schedule checkbox.


If you want the Auto-Send Receipt Notifications schedule to run at different time intervals, refer to Configuring Automation Schedules to change the schedule timing and frequency.
Understanding the ACH Request Email
aACE generates and sends an ACH Request email when a customer makes as ACH payment using the Pay Now link. This is a confirmation that a payment was made and is in processing. It is not a receipt.

The actual receipt notification is not generated until the ACH transaction clears. Receipt notification email automation must be enabled for these ACH receipt notifications to be generated and sent. Otherwise, ACH receipts created from the Pay Now link will need to be sent manually.
