This guide explains paying bills for multiple vendors. It is intended for general users.
The Pay Bills feature helps you view and pay multiple vendor bills at one interface. Pay Bills is located in the Purchases and Disbursements module.
Pay Bills in the Purchases Module
You can create a list of purchases in the Purchases module list view, then pay them all using the Pay Bills action.
- From the Main Menu, go to Accts Payable > Purchases.
- Use the Quick Search bar to locate the records requiring payment.
You can also use the list view sorting features to locate the necessary records. - Select Actions > Pay Bills.
aACE will automatically populate the records in your list into the Pay Bills section.
- Enter the Payment amount for each bill, or select the Apply icon (
 ) for the full payment.
You can also enter adjustments (e.g. discounts taken), if applicable. - In the General Info section, review the Date and the Bank Account.
- Select Yes.
To save the payments without creating a disbursement, select No. You can return later for final processing. - Select Post.
- Select OK.
- If you are printing a check, enter the number of the first check in the stack that you load into your printer.
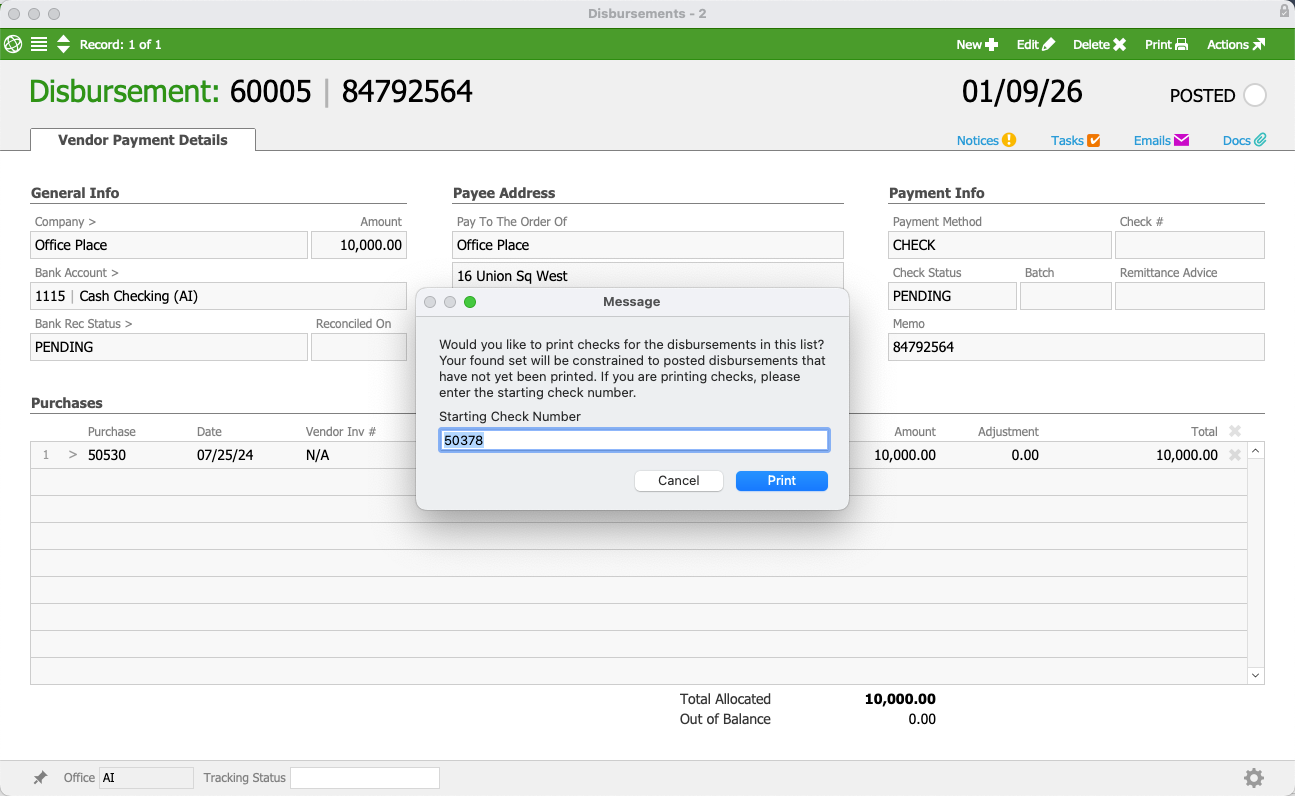
- Continue with printing the checks.

 ) for the full payment.
After printing the checks, aACE automatically updates the Check Status to Printed and notes the check number for each disbursement item.
Instead of creating a list view list of purchases requiring payment, you can select Actions > Pay Bills and populate or edit your list using the Pay Bills Quick Search bar or the Select Purchases Section.
Pay Bills in the Disbursements Module
When paying bills in the Disbursements module, you must create your list of purchases requiring payments within the Pay Bills dialog.
- From the Main Menu, go to Accts Payable > Disbursements.
- Select Actions > Pay Bills.
- Use the Quick Search bar to locate the records requiring payment.
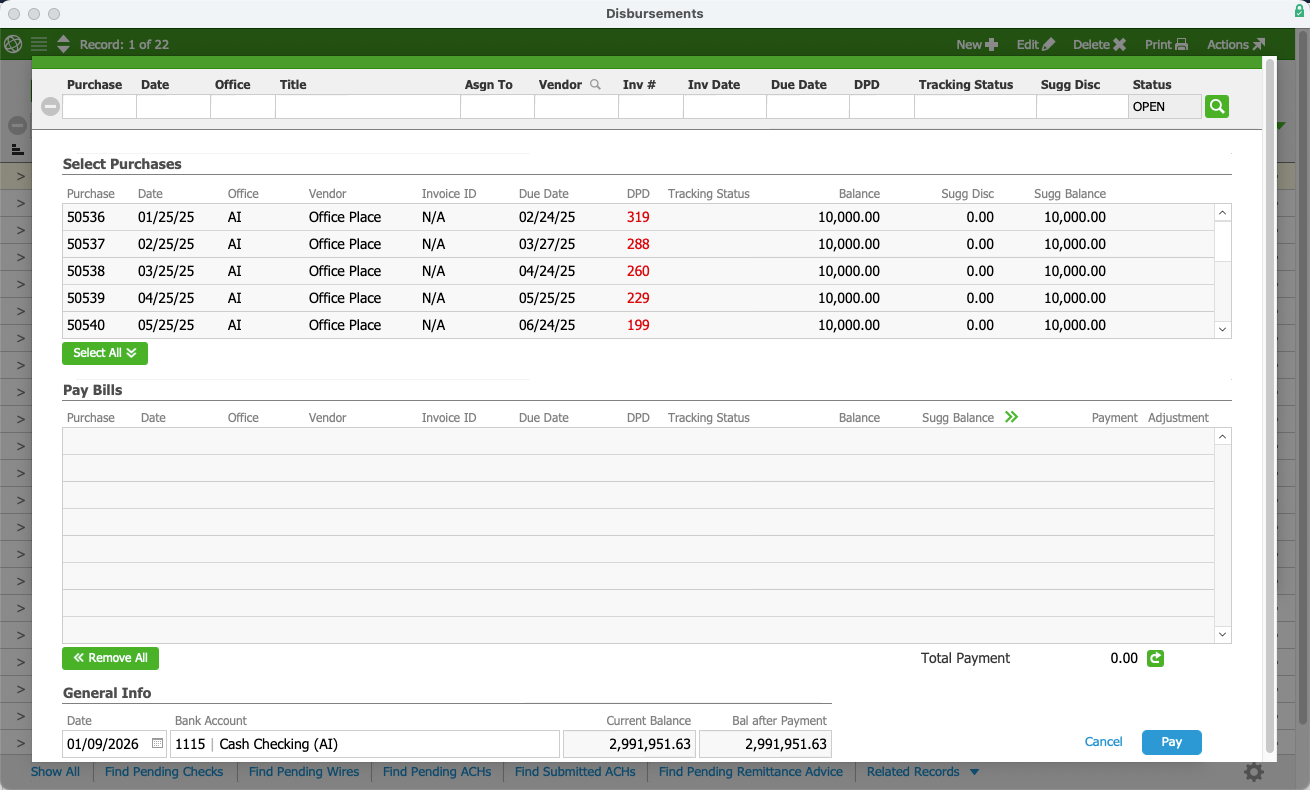
- In the Select Purchases list, select the records to move the bills you want to pay to the Pay Bills list.
Note: You can also select Select All or Remove All. - In the Pay Bills list, enter the Payment amount for each bill, or select the Apply icon () for the full payment.
You can also enter adjustments (e.g. discounts taken), if applicable. - In the General Info section, review the Date and the Bank Account.
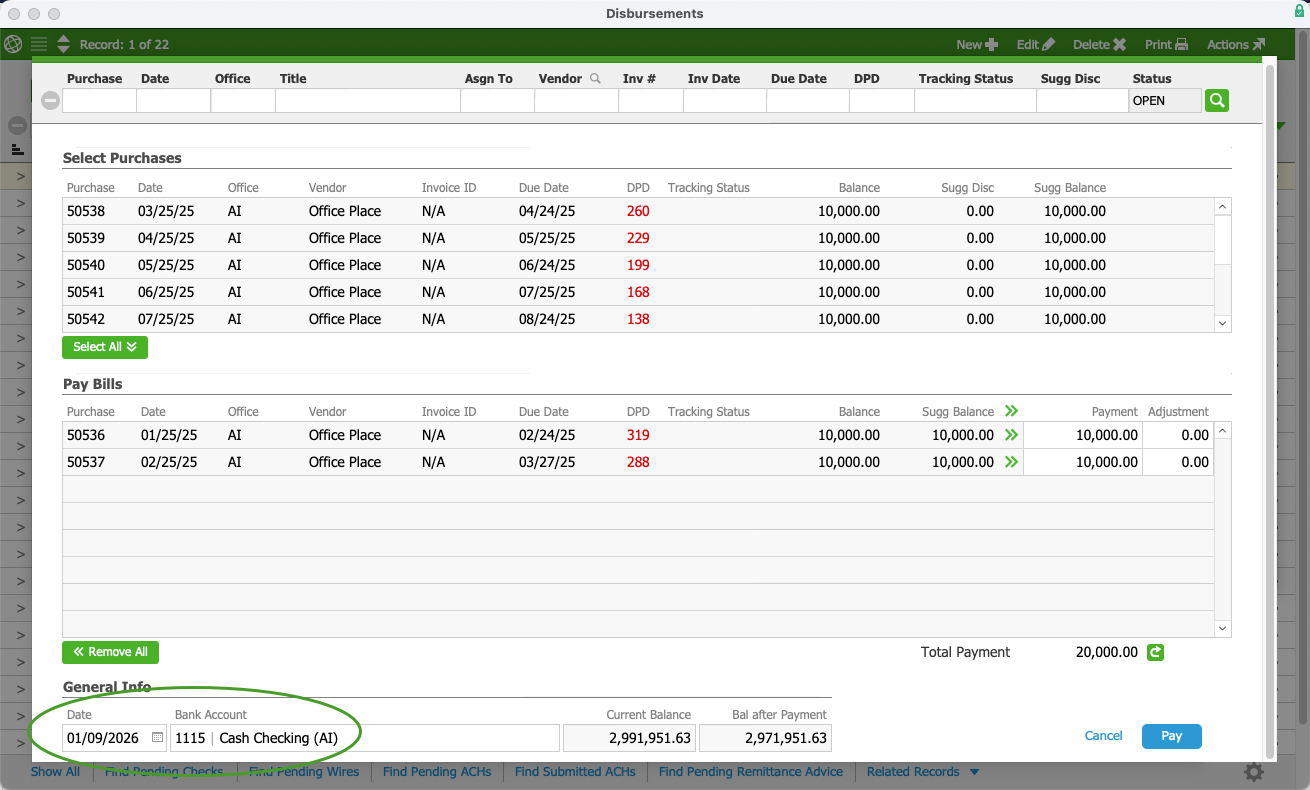
- Select Pay.
- Select Yes.
To save the payments without posting them, select No. You can return later for final processing. - Select Post.
- Select OK.
- If you are printing a check, enter the number of the first check in the stack that you load into your printer.
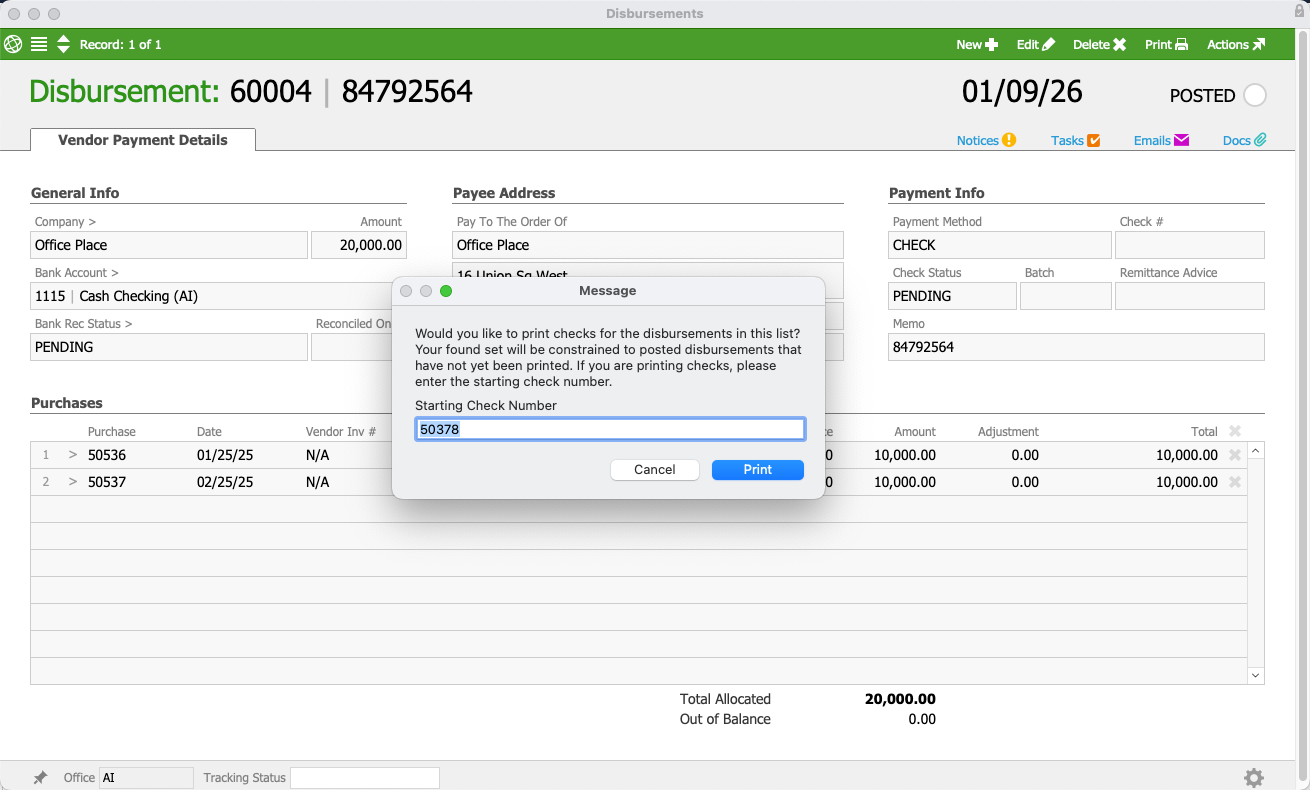
- Continue with printing the checks.


After printing the checks, aACE automatically updates the Check Status to Printed and notes the check number for each disbursement item.
