This guide explains how to pay bills to multiple vendors. It is intended for general users.
The Pay Bills screen helps you view and pay multiple bills in one easy-to-use interface:
- Navigate from Main Menu > Accts Payable > Disbursements.
- In the menu bar, click Actions > Pay Bills.
- Use the Quick Search bar to locate the desired records.
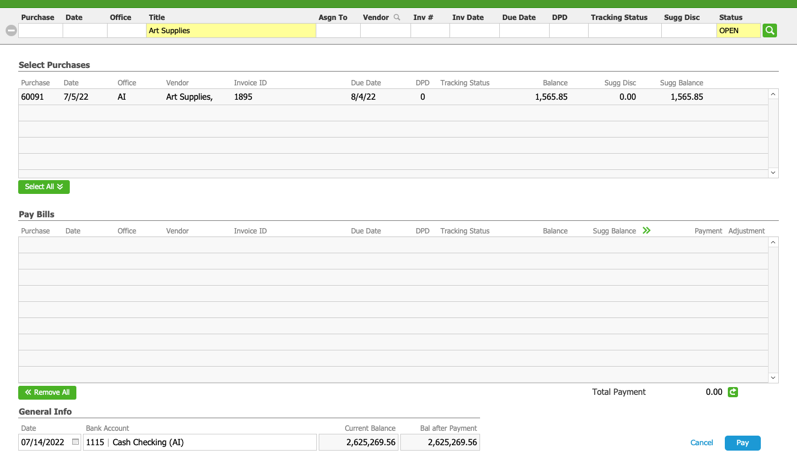
- In the Select Purchases list, click the desired records to move the bill(s) you want to pay down to the Pay Bills list.
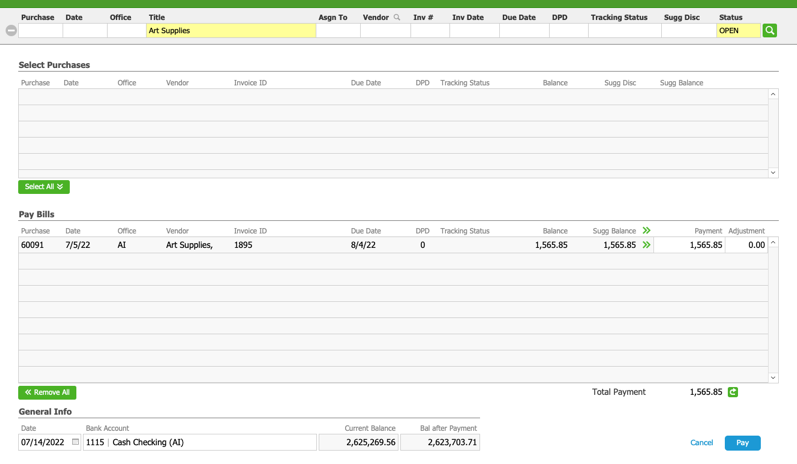
Note: You can also click Select All or Remove All. - In the Pay Bills list, enter the Payment amount for each bill, or use the Apply icon (
 ) for the full payment.
Note: You can also enter adjustments (e.g. discounts taken). - In the General Info section, review the Disbursement Date and the Bank Account.
- Click Pay.
- At the confirmation dialog box, click Post.
Note: To save the payments without posting them, click Cancel. You can return later for final processing. - At the check preparation dialog, enter the number of the first check in the stack that you load into your printer.

- Continue with printing the checks.

 ) for the full payment.

After printing the checks, aACE automatically sets the Check Status to Printed and marks the check number for each disbursement item.